Recap
I spoke on my initial run-in with AI by asking ChatGPT questions and then cut/pasting code. I then went on to feeding AI a folder diff and seeing if it could explain. Then the magic really started to happen when AI formulated its own code in this post yesterday. My driving goal has been to learn to use AI by getting it to make its own Freeze Tag mod based loosely off my original code. Now for my final post in this series.
Setting Up the Playground
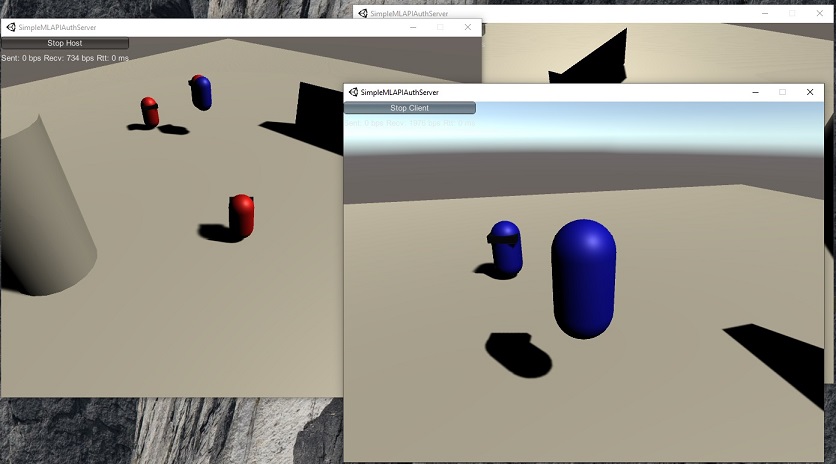
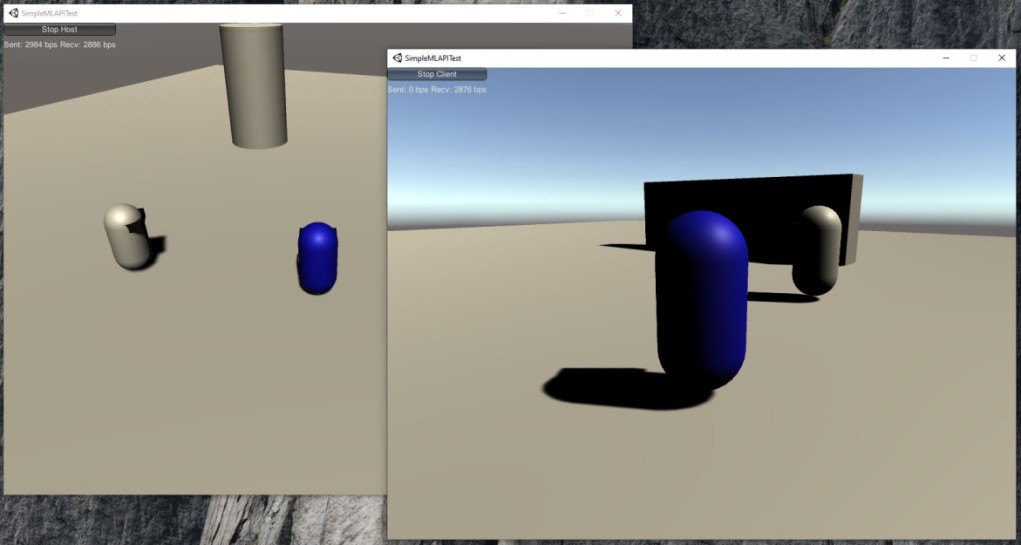
I was actually able to get the original Quake 2 running and rebuilt my original Freeze Tag code, so now I had an environment in which I could play in! (I was so happy about that because, after all, this is what had made learning C all those years ago fun: change code to speed up a rocket and actually see the change.) I can now Code, Test (Play), Code. Or rather, Instruct AI, Test, Instruct AI.
Experiment 1: Start Weapon
I started with something simple by instructing Amp: “freeze_orig would give a newly spawned player a weapon according to start_weapon found in freeze.cfg. keep the freeze.cfg file and the start_weapon approach, but write your own implementation of this feature in freeze_new. look to freeze_orig for examples of how to implement”. It went to work and came up with this change here (notice it even updated the VS Studio build project). I asked it for a good Git commit msg to summarize and used that when committing. What was interesting to me is it decided to add “start_armor” even though I never asked it to do that. I guess it assumed it was part of the same component?
Experiment 2: Grapple Hook
I then asked it to implement a grappling hook like Freeze Tag. It came up with something, but it was treating the hook like a weapon when it should have been an off-hand weapon that was always available to the player. I told it that it wasn’t like that in freeze_orig, and it said “You’re absolutely right! (rainbow colors)” and went on to fix it. I then tried the hook in the game and it barely pulled the player. (I was actually flabbergasted that it worked the first time… a hook shot out.) I mentioned its slowness and it replied with “I see several issues with my implementation! The original uses a much more sophisticated pull system and applies force differently. Let me fix the key problems.” After that was done, I tried it out and the hook pulled too much. So much so that it splatted you against the cliff walls ending in death. Still it was good enough for now so I asked for another Git commit summarizing this change which you can see here.
Experiment 3: Menu & Message of the Day
This was actually the first system I tried to get Amp to implement, and I just wanted to mention it here to show that stuff doesn’t always work out. I asked for these Menu and MOTD features to be added and Amp initially came up with a complex menu system. I had to explain to it that the Quake 2 engine only allowed for a menu system of limited characters and it looked through the code and said it would fix that. I then noticed it had no call to the function that displayed the menu it had made. I mentioned the original Freeze code displayed it in the PutClientInServer when the player was a spectator. It entered an incorrect entry in PutClientInServer. See if you can spot the issue:
	// spawn a spectator
	if (client->pers.spectator) {
		client->chase_target = NULL;
// ...
// Here is where I originally had Freeze Tag show the menu
		return;
	} else
		client->resp.spectator = false;

// ...

	// force the current weapon up
	client->newweapon = client->pers.weapon;
	ChangeWeapon (ent);

// Amp added the below part
	// show menu to spectators or new players
	if (client->pers.spectator)
	{
		UI_ShowMenu(ent, "Team Selection");
	}
I told Amp: “i’m not sure how to say this. you did it wrong. your UI_ShowMenu will never be executed because there’s an if (client->pers.spectator) way above it that will return w/o reaching your code. can you fix”. After some work it triumphantly declared “Now the menu will display properly when spectators are put in the server, just like the original freeze_orig system!” I built the code and tried it out and nothing displayed. I’m not sure what was going on so for now I stored this change in this branch.
Reflections on Workflow

Working with Amp is rather exciting. You can see in this picture me talking to Amp on the left. I like that it’s built into VS Code. I like that you can watch it work and it talks as it goes. I can even be in another window watching it generate code changes on my local hard drive. Once it’s done a change I’ve tested and like, I ask it for a Git commit msg and push the changes.
Frustrated By AI
Don’t get me wrong. Today was very exciting for me. I feel like an AI Wrangler or AI Whisperer. Perhaps if I could just correctly tell the AI what to do, it would generate correct output. I plan to get better at talking to AI.
However I do see a fundamental problem with AI currently. AI doesn’t ask questions back before it runs off and does something. For example, when I asked it to make a grappling hook, it would be nice if it paused and said “it looks like the original hook was off-hand and not a main weapon, do you want it to be off-hand?” Right now the AI just assumes. I suppose it has to. If it didn’t assume a great number of things, it would never move forward.
I actually stopped what I was doing and looked into this and it appears there’s a group of people researching making AI more “Socratic” (have it ask questions to arrive at an answer). Why does this matter? Working on this project and this blog plan cost me about twenty bucks for the AI to come up with the code. If AI is running off to churn out an answer for me (and that time costs me money), I want it to make sure it understands the assignment correctly.
Conclusion
Maybe I have it all wrong. I am just starting out. Maybe I need to use words like “tell me what you plan to do” before I ask Amp to implement. This is actually pretty funny because it makes me think of the Nonviolent Communication concept: “when I heard you say x, I felt y”. I need to start asking AI “what do you think I’m asking you to do?”. Actually I have been doing that with ChatGPT. I will ask it “what’s a better way to ask you this?”
Regardless, this entire activity has been very educational and only cost me a few coffees! I can’t wait to work with Amp more.
Source at GitHub (Amp generated all the documentation)
Update: Now that I’ve gone through this exercise I’ve started reading what other people are doing with LLMs. Found this very interesting article.


\">Wiki</a>")


\">Wiki</a>")


\">Wiki</a>")