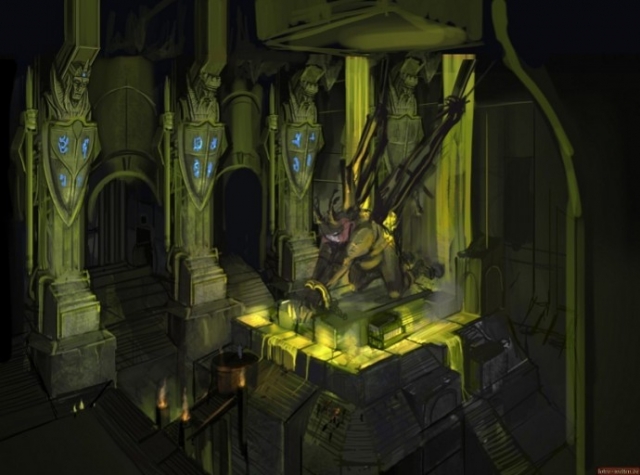
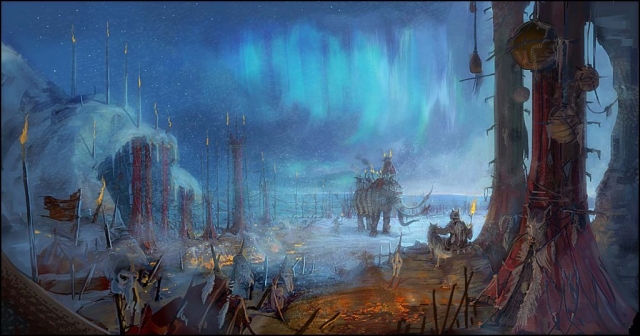
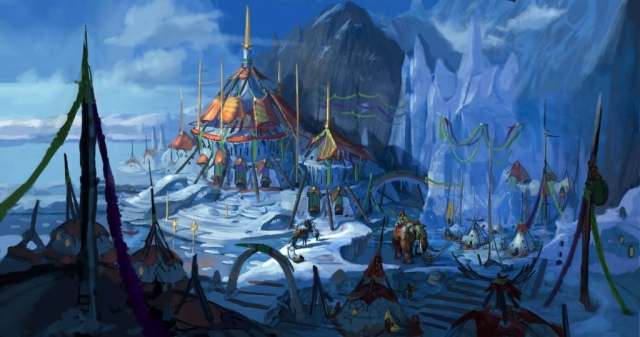
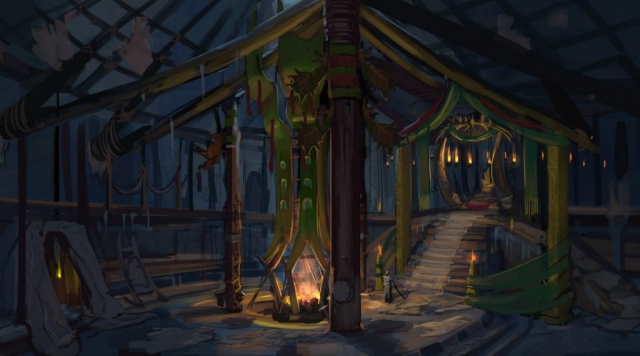
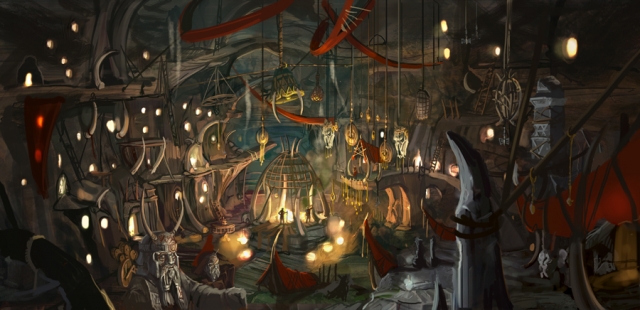
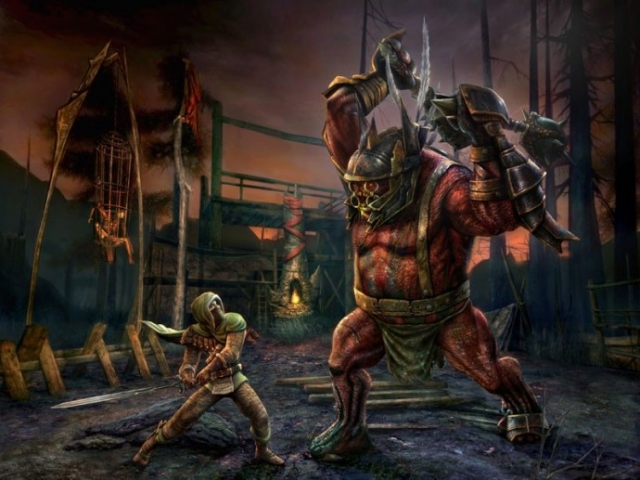
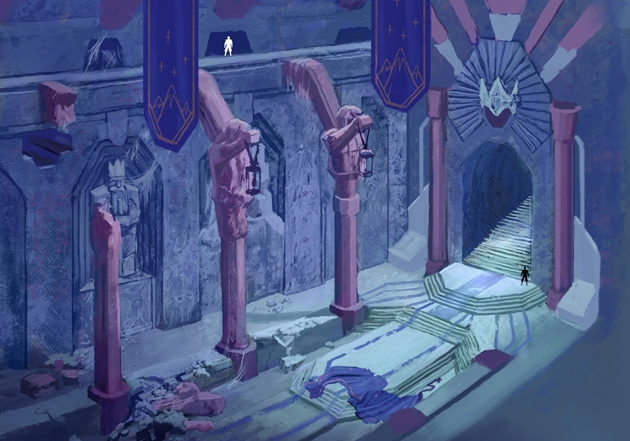
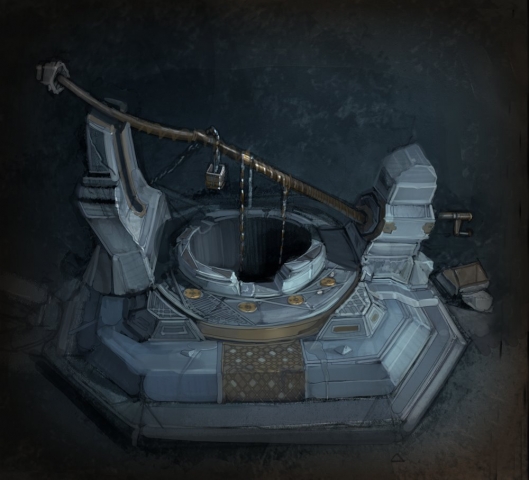
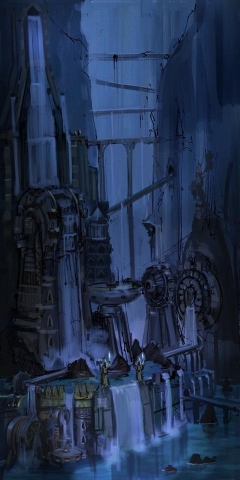
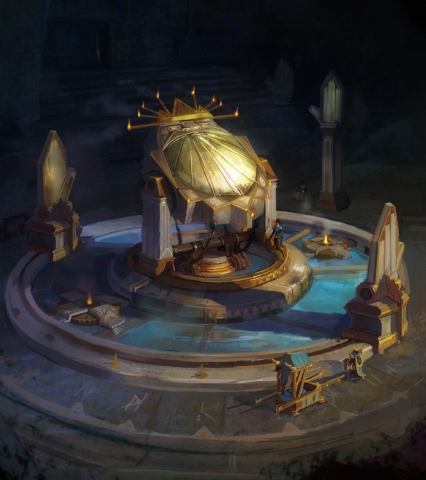
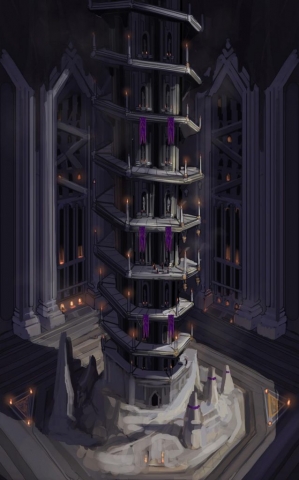
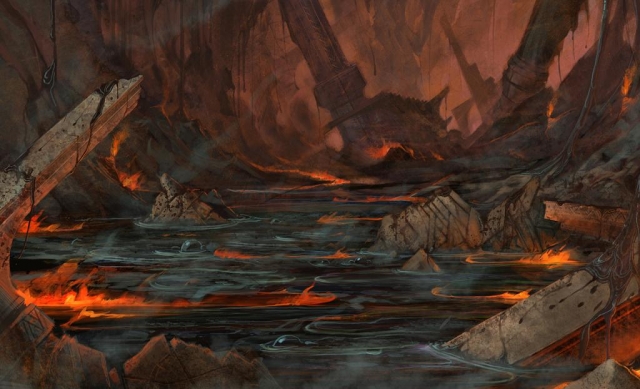
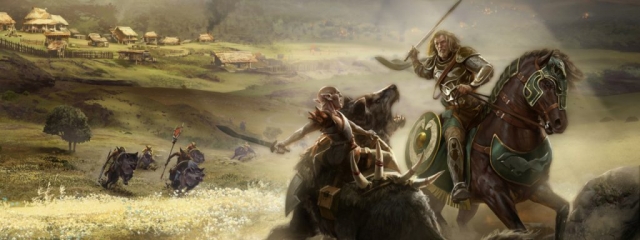
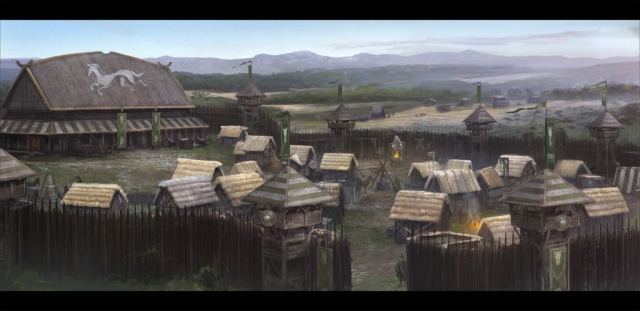
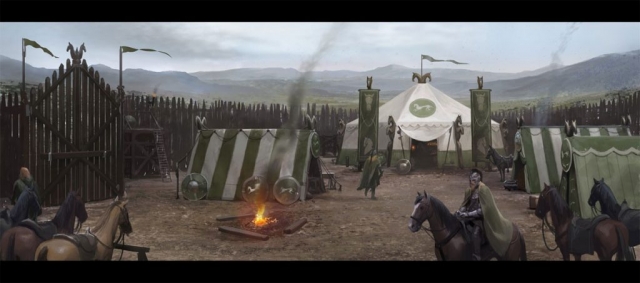
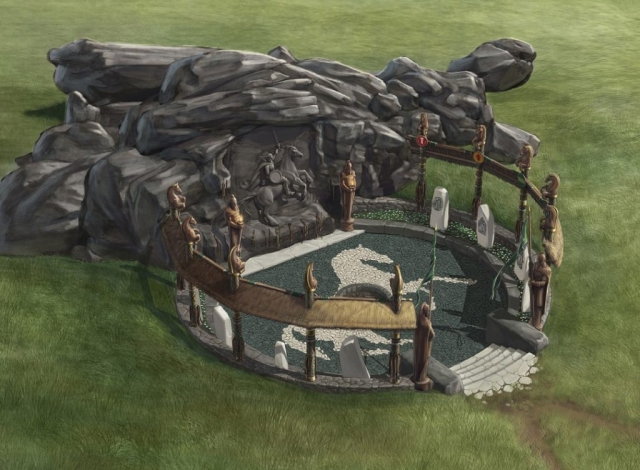
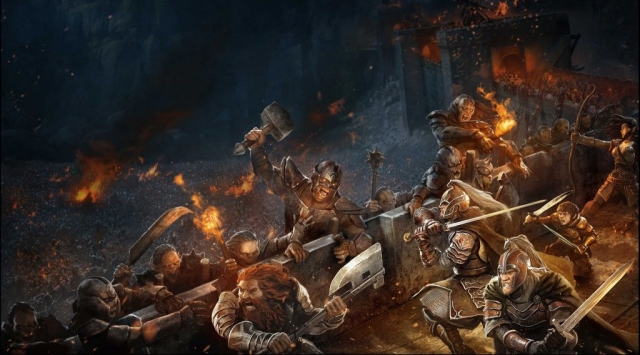
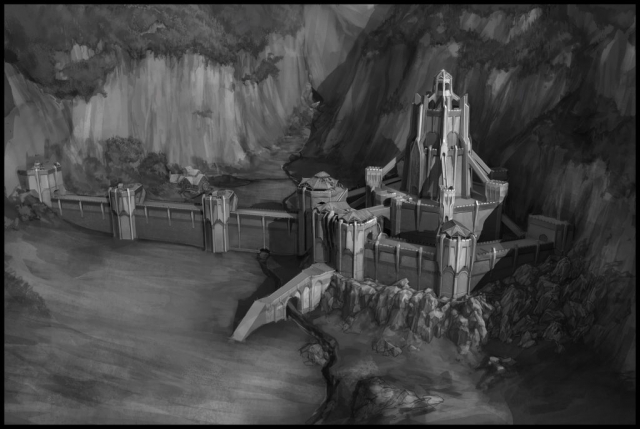
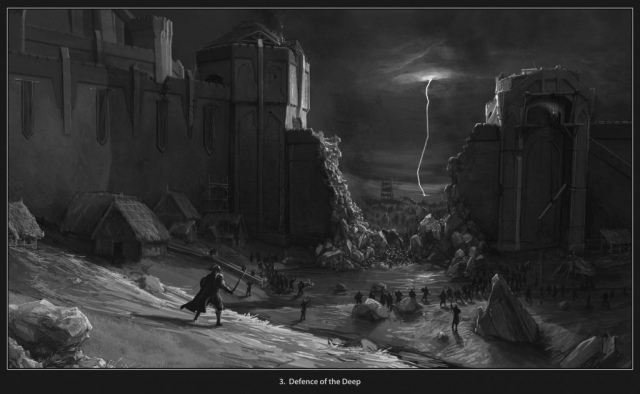
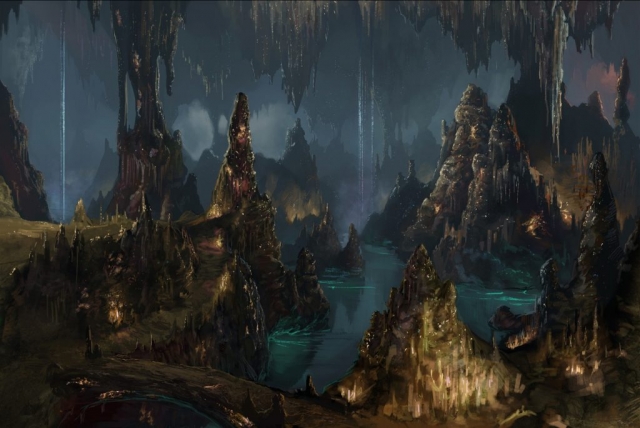
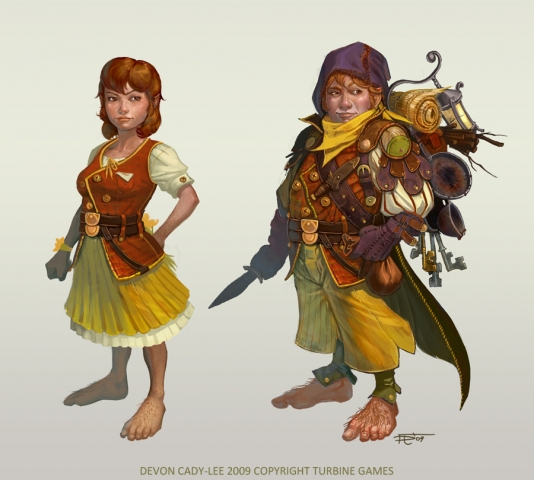
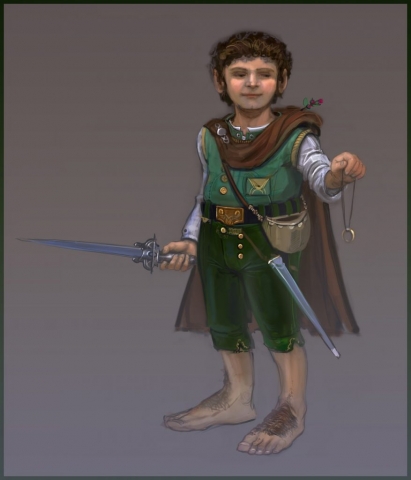
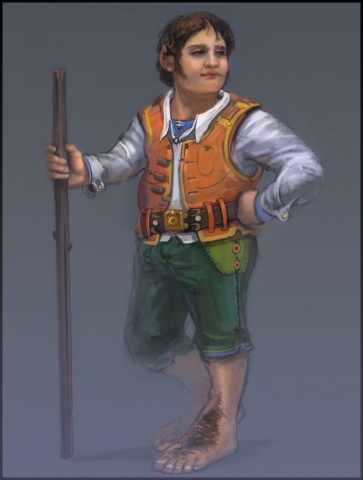
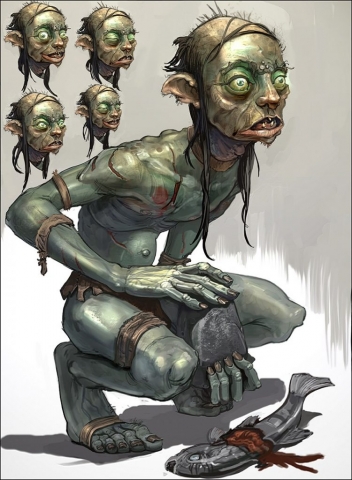
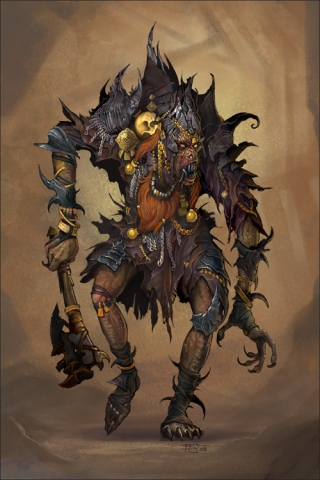
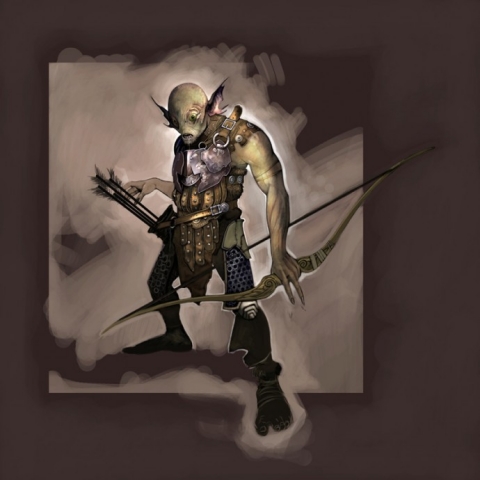
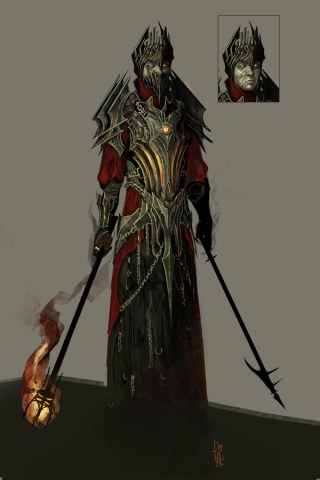
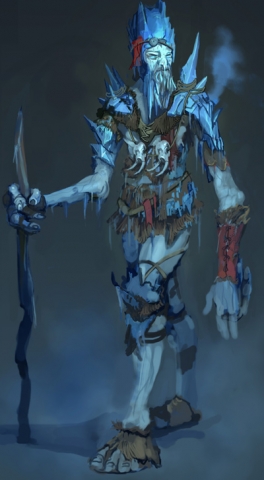
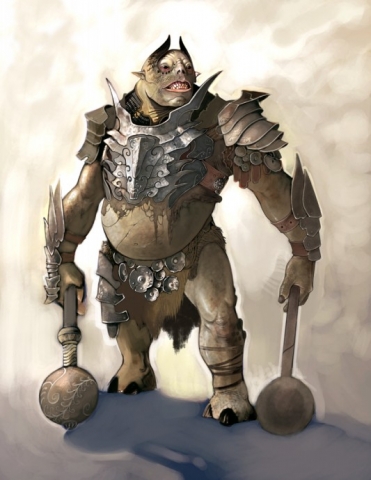
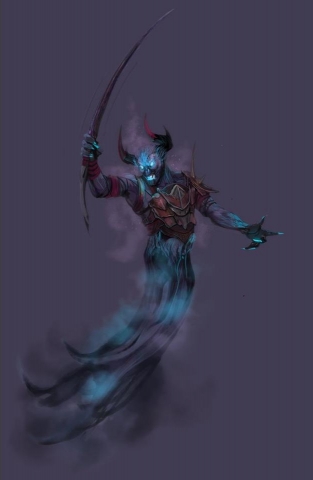
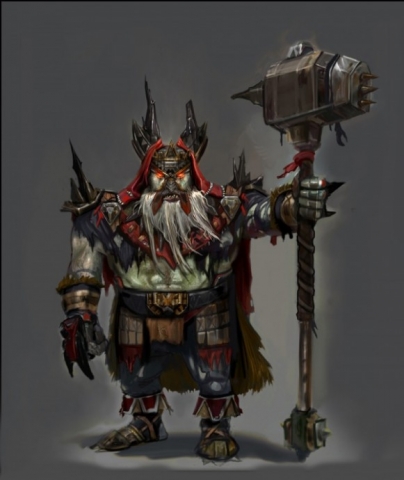
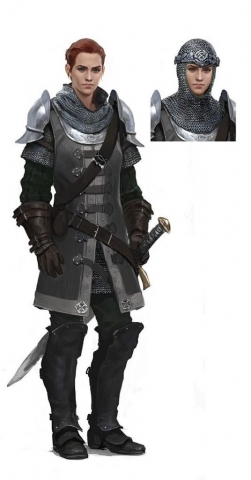
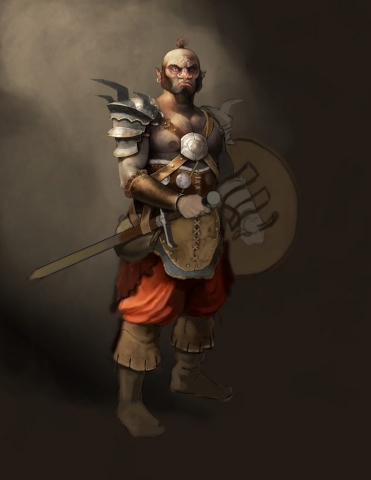
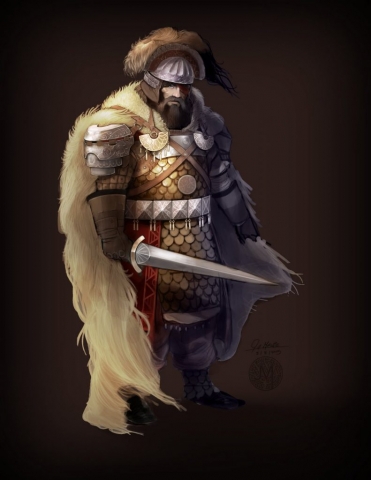
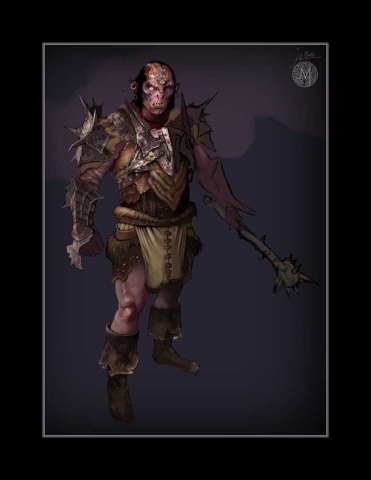
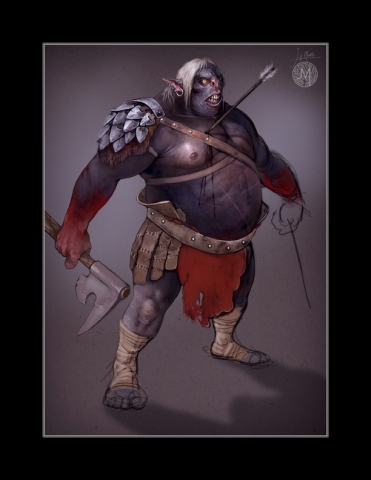
Concept Art for LOTRO

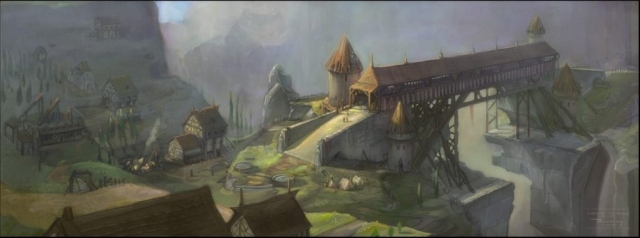
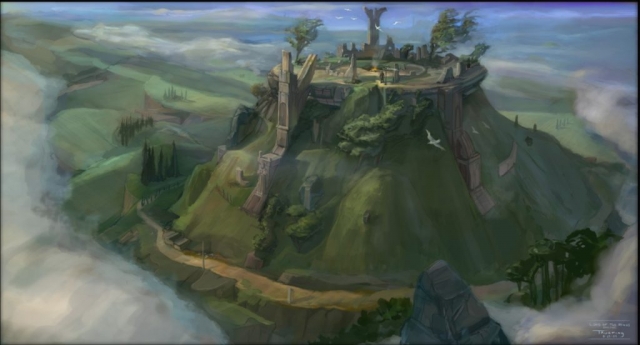
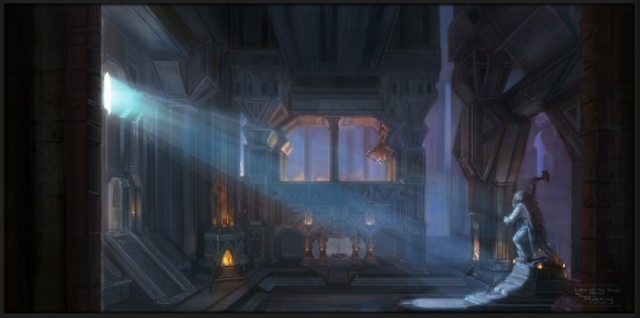
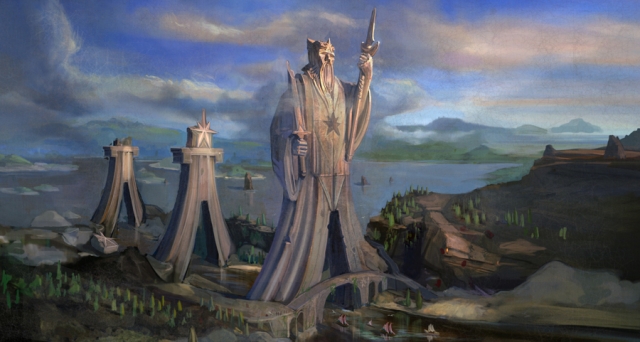
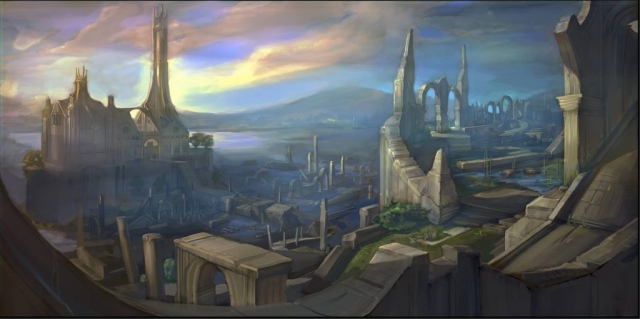
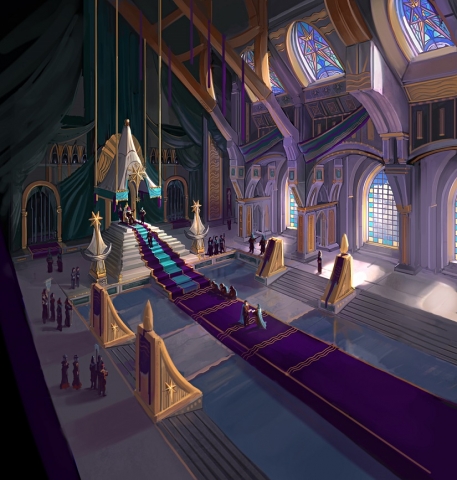
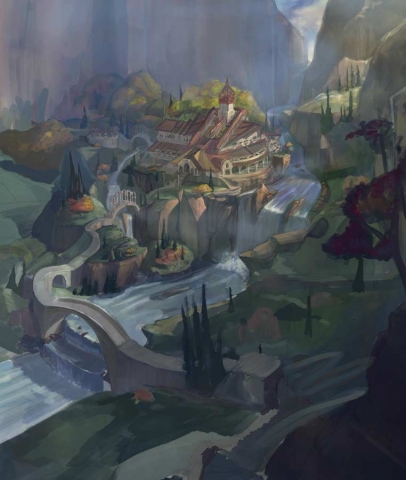
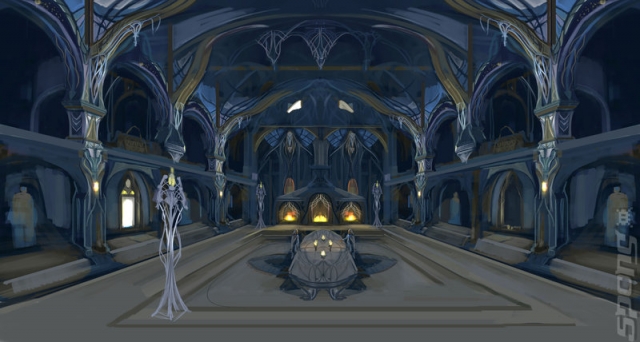
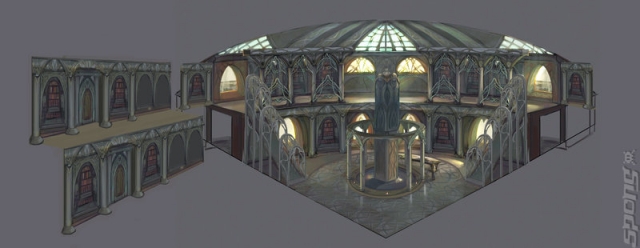
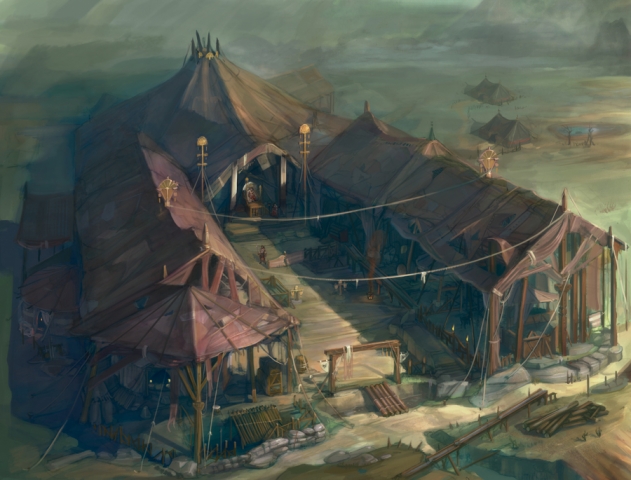
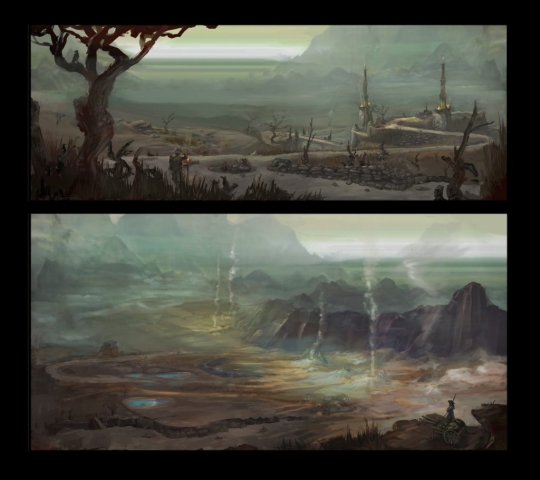
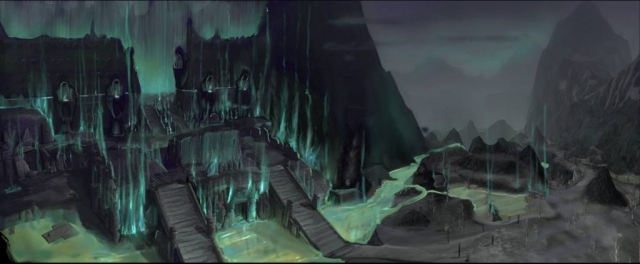
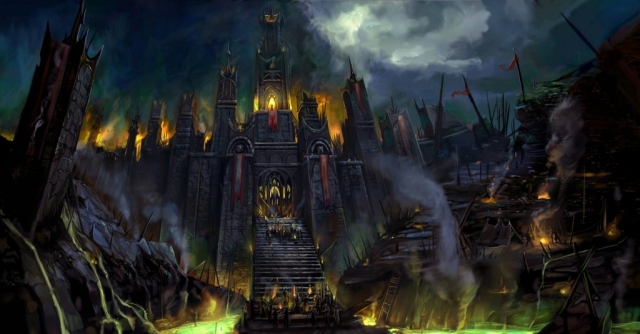
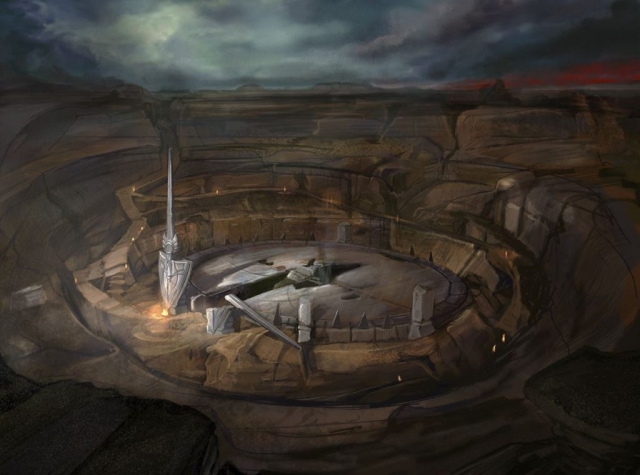
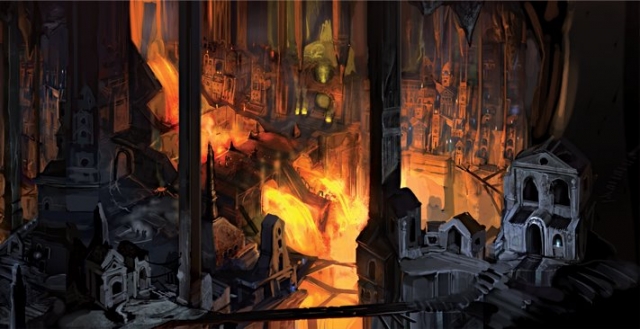
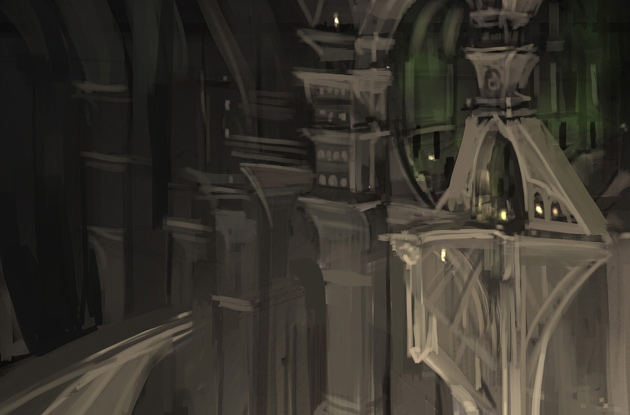
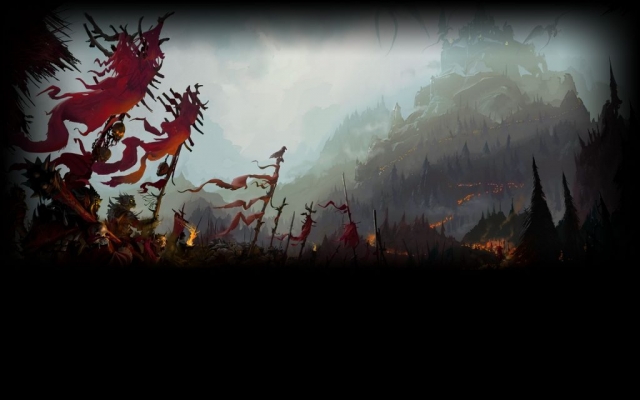
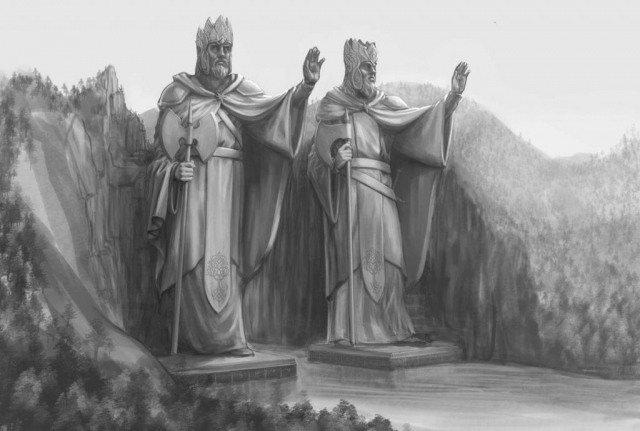
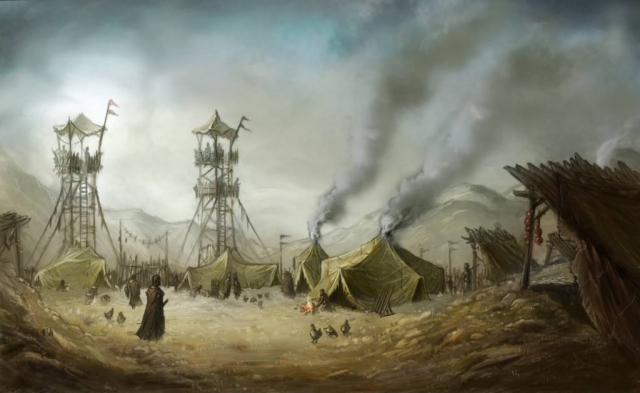
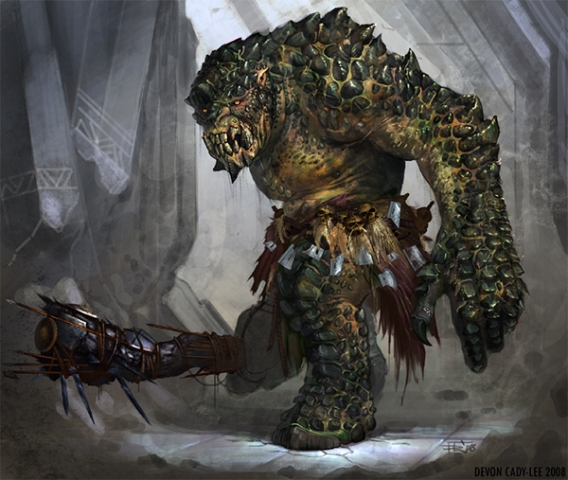
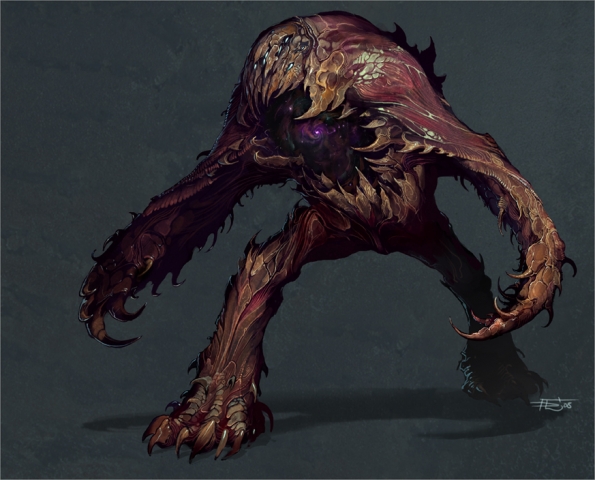
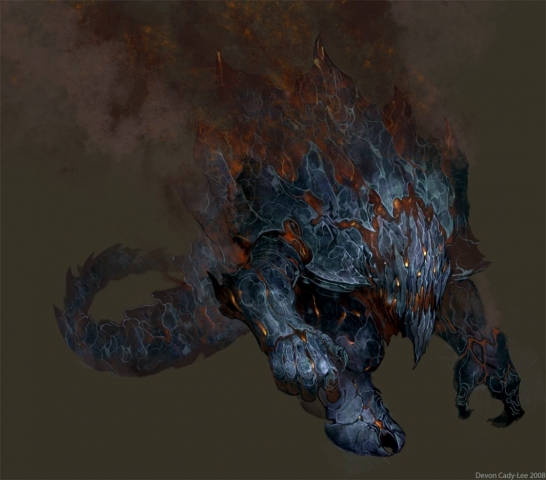
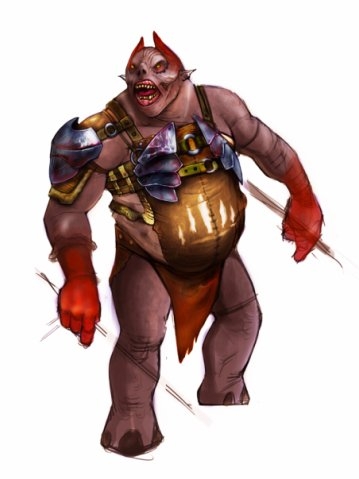
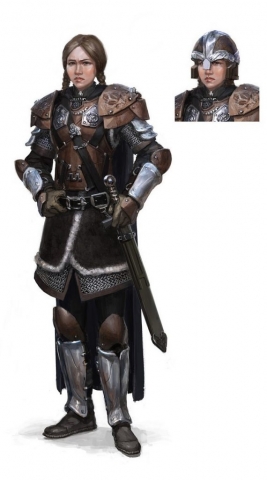
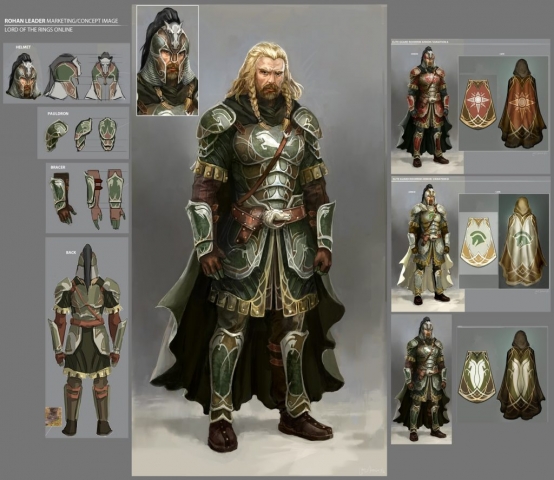
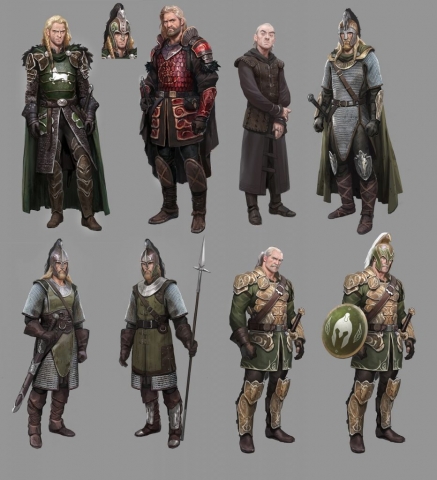
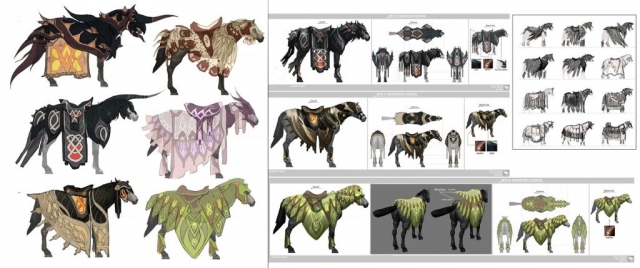
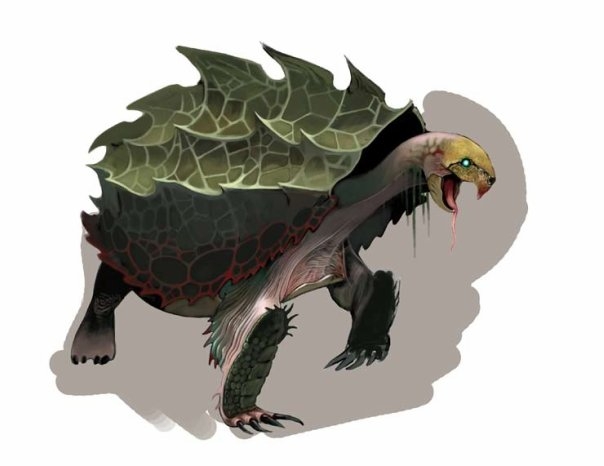
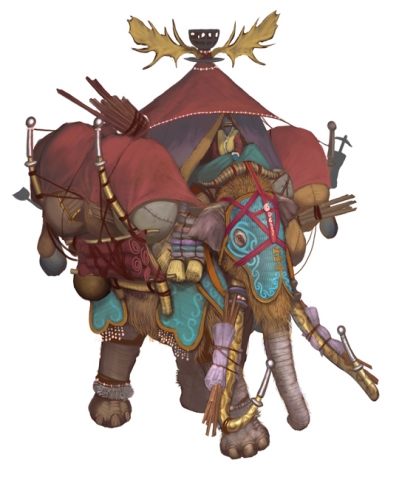
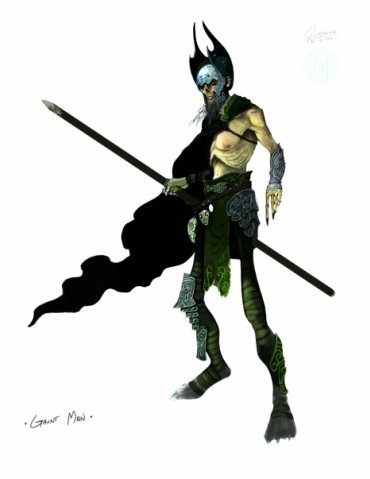
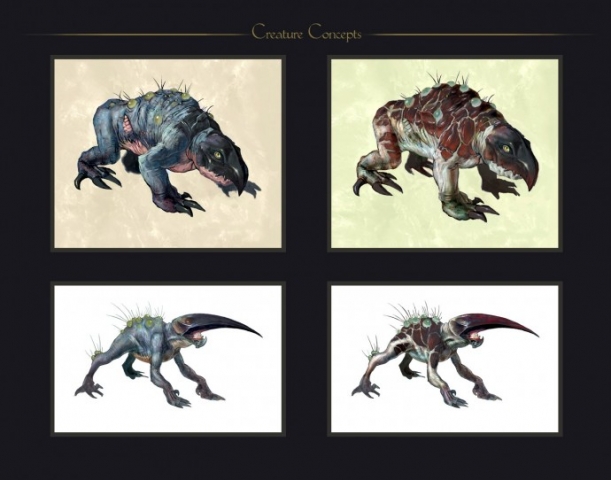
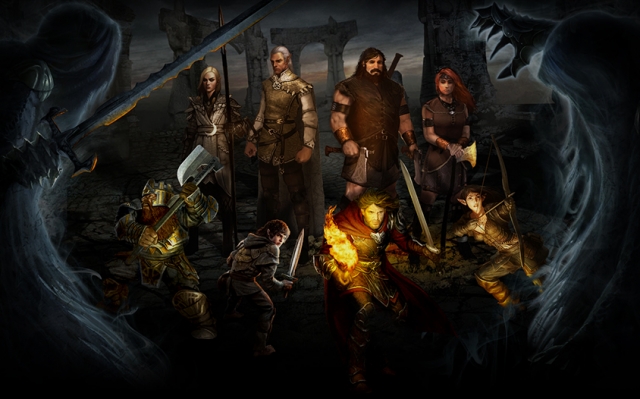
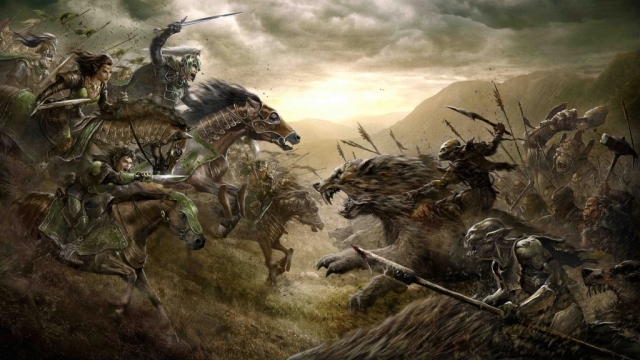
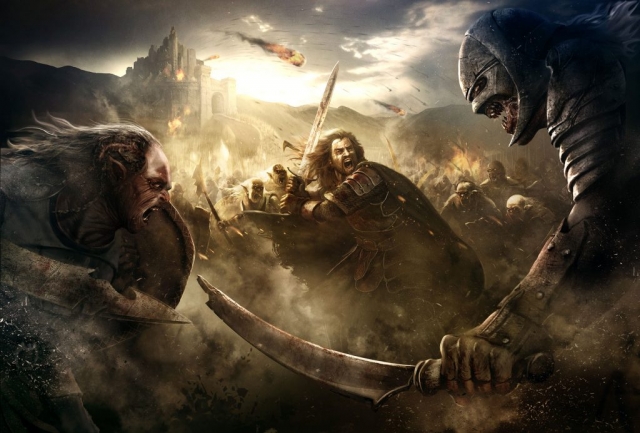
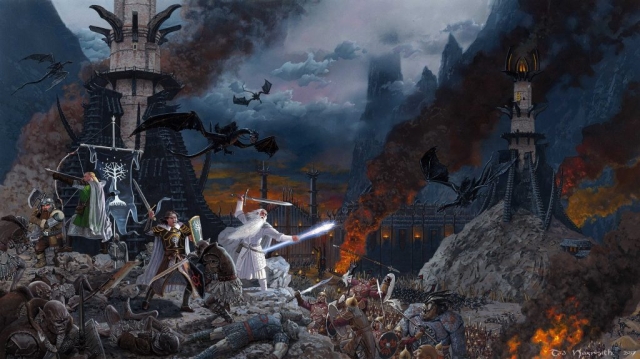
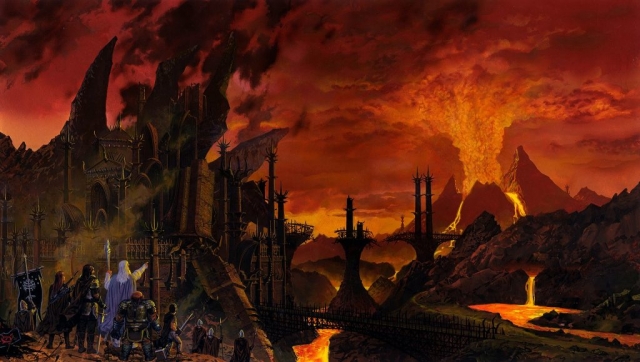
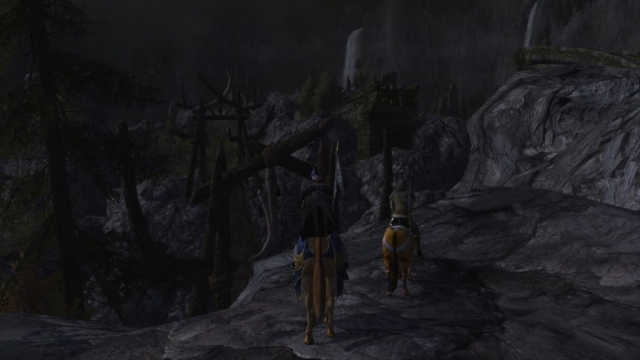
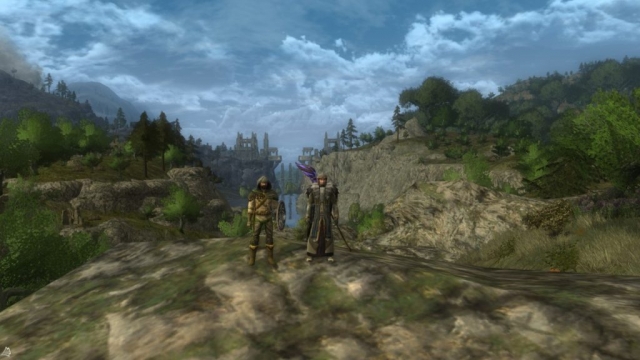
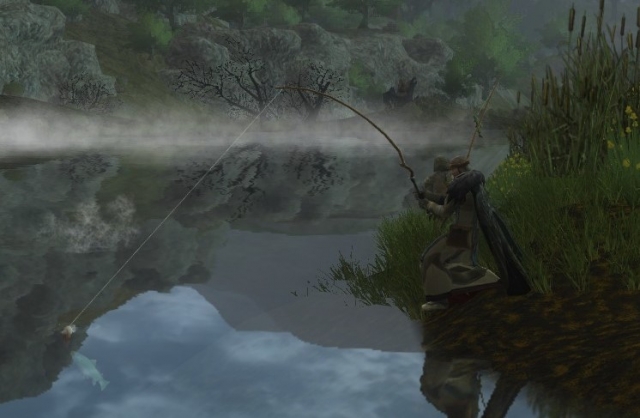
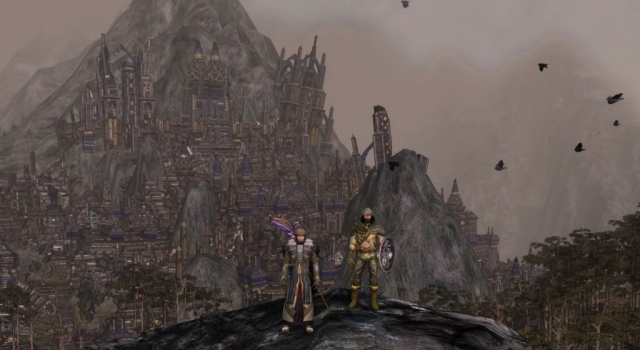
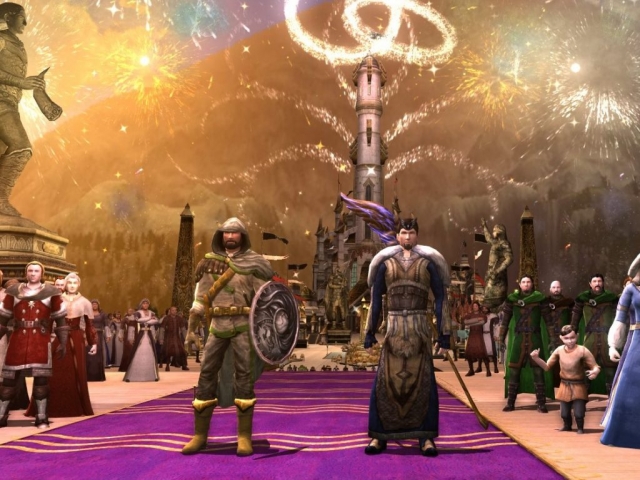
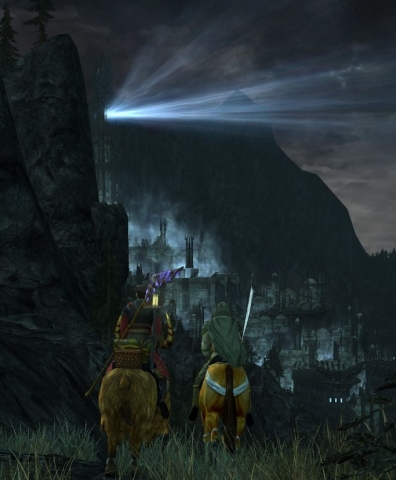
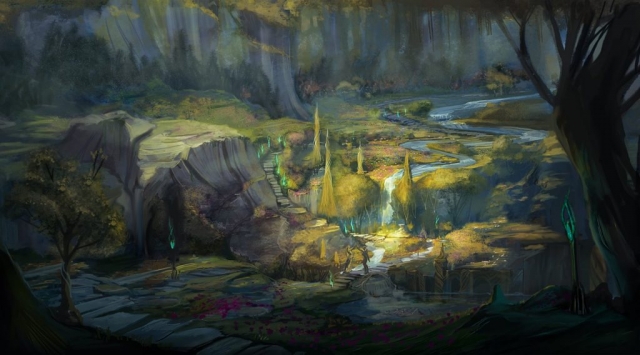
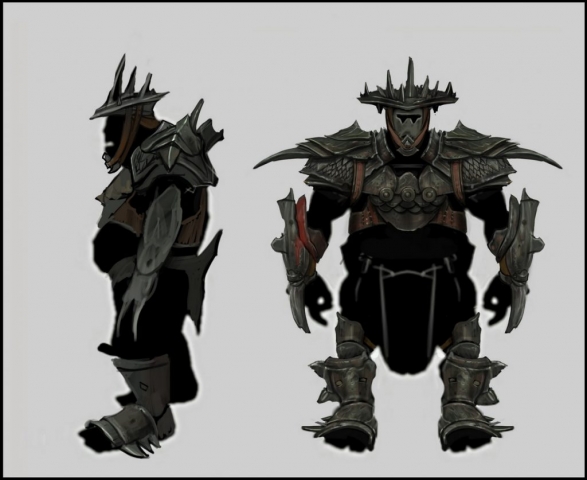
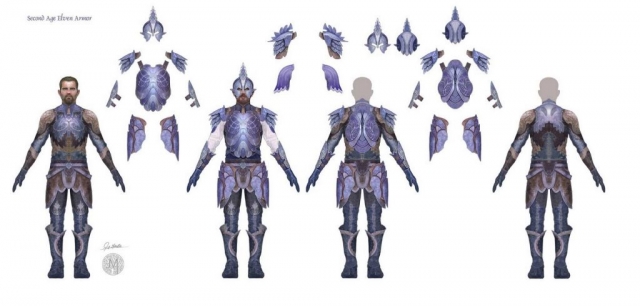
I’ve been gathering some of the fantastic concept art for the Lord of the Rings Online game. I wish someone would put together a “making of” book for this game. I think the world builders for this game are amazing! It’s funny, the first time I played this game for free, I was walking around near the Inn of the Forsaken and there was a road with a broken bridge. And if you looked below the bridge, you could see a worn out path from people having to walk down in the dry river (remember this is a video game and you have to put details like this in). As soon as I saw that I knew this would be a good game. (Alas, when they redid the area, they got rid of this foot path.)

Thank you to these amazing artists:
Chris J. Anderson, Wesley Burt, Devon Cady-lee, Jeff Murchie, Ted Nasmith, Tara Rueping, Lucas Slominski

Places
Creatures
Load Screens

Simple MLAPI Authoritative Server

This is my try at a simple authoritative server: where the clients send their commands to the server, the server decides where everyone moves to on the map and sends back the location of all clients to everyone. There is no delta compression when serializing, no client-side prediction or server reconciliation, no lag compensation. In other words: very very simple.

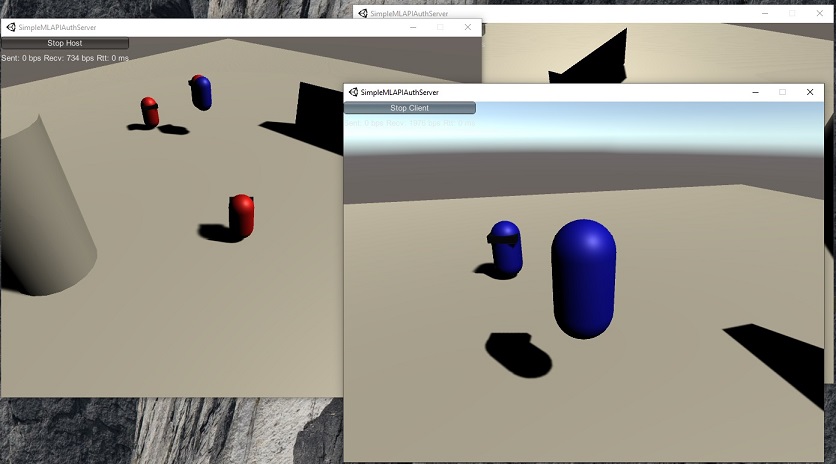
In the picture you can see red capsules (on the Host) that show where the server says everyone is. We do our physics movement on these objects.

The blue capsules are where the server is telling clients everyone is. They have no physics associated with them, they are just moved to the locations received in a message every 1/20 seconds. Notice that the client window has no red capsules: this is because it is not a server and is not calculating where everyone is.

There are six scripts in this project.

CustomTypes
Defines the PlayerCmd type which is what the client sends to the server (mouseButton0, horizontal, vertical, jumpButton)
Defines the PlayerState type which is sent from the server to the clients (List of clientId, position, rotation)
Defines PlayerObjectDictionary which is how a server keeps track of all non-networked red capsules and how clients keep track of non-networked blue capsules
There is code in here that explains to MLAPI how to serialize PlayerCmd and PlayerState over the network

HandlePlayerCmds
The client will save inputs to PlayerCmd every 0.01 sec. After it has saved 5, it sends out an array of PlayerCmds to the server (every 1/20 sec)
Server code is in this file as well. It shows the server saving a client PlayerCmd to a dictionary (uses clientId as a key)

ServerPlayerObjects
This is where the server has a bunch of fake red gameObjects representing clients that it moves around. It is using Unity’s CharacterController to figure out where the objects move. It uses input from each client’s PlayerCmds array.

After 1/20 sec has passed, the code sends out a PlayerState to all clients which is a List of the locations of all clients.

ClientPlayerObjects
This is where the client receives the PlayerState List from the server. It will take each PlayerState and create a fake blue gameObject that represents that client. It simply Lerps each transform to the location reported by the server.

ThirdPersonCamera
This is attached to the fake blue gameObject that ClientPlayerObjects creates that shares our clientId.

NetworkGUI
Displays a menu and bytes sent/received. Note the bytes sent/recv seems to be broken in MLAPI?

The Issue of Networking

The client records user input every 0.01 sec to a PlayerState. Every 0.05 sec it sends this size 5 array to the server. Perfect world: the server takes index 0 and moves the red client object between time 0.0 and 0.01 sec. Between 0.01 and 0.02 it uses index 1, etc. The server sends a record of where every red gameObject was calculated to be to the clients every 0.05 sec. We are using MLAPI and transport Ruffles. We can turn on the Simulator and make it so PlayerState doesn’t get to the server all the time, that messages are delayed, etc. So what we do on the server is (currently) use index 0 between time 0.0 and 0.02 sec (double!), then use index 1 from 0.02 and 0.04, index 2 from 0.04 to 0.06. We still have 2 more PlayerStates we can use. Hopefully by this time a new PlayerState set has arrived from the client. If it hasn’t, we will continue to use the last index 4 to move our red client object. Networking is hard.

Editor Setup

Pretty much the same as the Simple MLAPI Test, with these differences:

Window > MLAPI > Transports > Ruffles > Install Latest
GameObject > NetworkingManager > Select transport... > RufflesTransport
NetworkingManager > Create Player Prefab > Off (We are not using any NetworkTransport)
Ruffles Transport > Log Level > Warning
Ruffles Transport > Simulator > Use Simulator (If you want)
Layer > Add Layer... > Added "Server", "Client", and "Local"
Edit > Project Settings... > Physics > Uncheck Server/Local, etc. (We don't want Host w/ client and server obj to interact)
Important: Attach a Player prefab to ClientPlayerObjects > playerPrefab
Improvements

There’s a lot wrong here. I really struggled with how Unity organizes things vs. a regular C# project with classes. The hardest part of this small project was just trying to organize each script in a logical way! I have a CustomTypes which is used by two other classes but does nothing itself, really. I have a ThirdPersonCamera that needs ClientPlayerObjects to set what it points at. I have HandlePlayerCmds that remembers (on server) what all client input was, and that’s used by ServerPlayerObjects. I have classes exposing “static public” variables for ease of use.

For the networking memory usage, we create a new List every time we send out/receive PlayerState. Create a new array of PlayerCmds when those come in. We constantly send PlayerState even if the player is standing there. This stuff really bothered me.

Source

Found at GitHub
Using MLAPI network library with Ruffles

Simple MLAPI Test

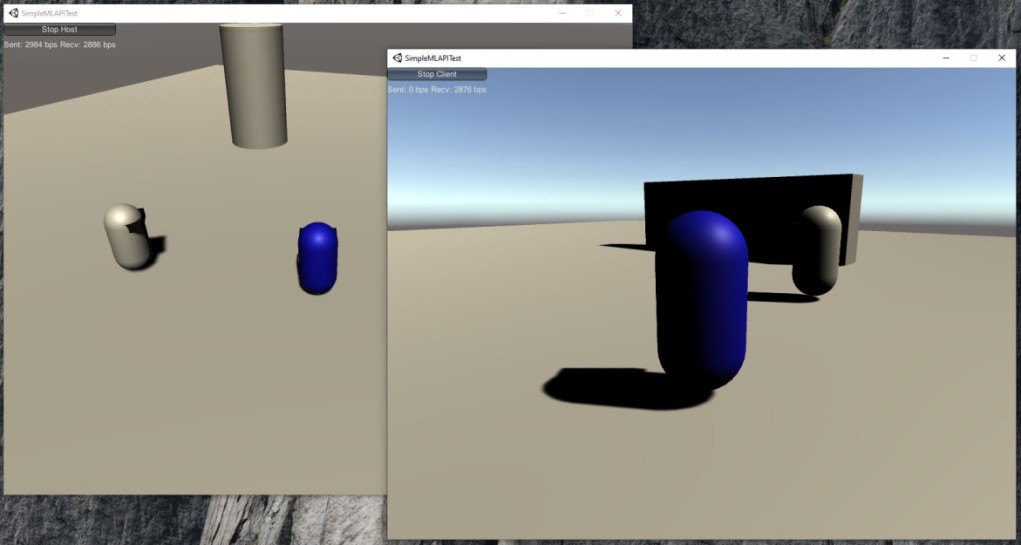
I wanted to try out MLAPI for Unity. Here’s a picture of the Scene I made running a Host (left) and Client (right).

I’ve posted the code to GitHub. Here’s how I made the Scene:

Download MLAPI
Assets > Import Package > Custom Package... > MLAPI-Installer.unitypackage > Import
Window > MLAPI > Install

GameObject > Create Empty > Rename NetworkingManager
Add Component > MLAPI > NetworkingManager > Select transport... > UnetTransport
Add Component > New script > NetworkGUI.cs

GameObject > 3D Object > Capsule > Rename Player
Add Component > Character Controller
Add Component > MLAPI > NetworkedObject
Add Component > MLAPI > NetworkedTransform
Add Component > New script > ThirdPersonController.cs
(Also add a Cube as a Visor to Capsule and set Box Collider off so it doesn't interfere with our camera)
Create > Material > Black > Add to Visor for cool factor

Create prefab of Player, drop in NetworkedPrefabs of NetworkingManager and set Default Player Prefab

GameObject > Create Empty > Rename PlayerStart

Note I couldn’t figure out how to tell how much data was being sent out on the network with MLAPI so I used their NetworkProfiler to estimate bytes per second sent/received.

Shenanigans in LOTRO

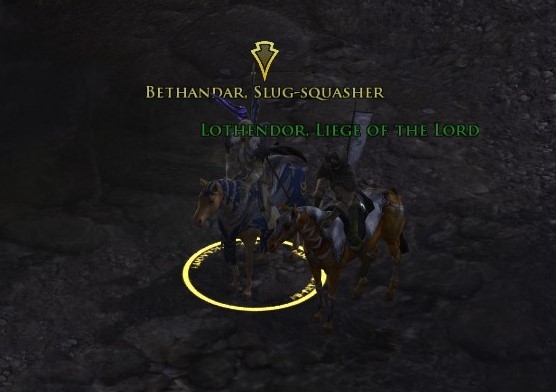
One of my favorite games has been Lord of the Rings Online, an incredible Massively Multiplayer Online Role-Playing Game. I’ve enjoyed it especially because I’ve been able to play through it with my brother. We played through most of the game and then they added a bunch of content, so we decided to play through it again with new characters. I’d like to present the adventures of Lothendor the Minstrel (my brother) and Bethandar the Lore-master (me):

Setting up SG-1100 Netgate with AT&T BGW210

Recording this so I remember in the future:

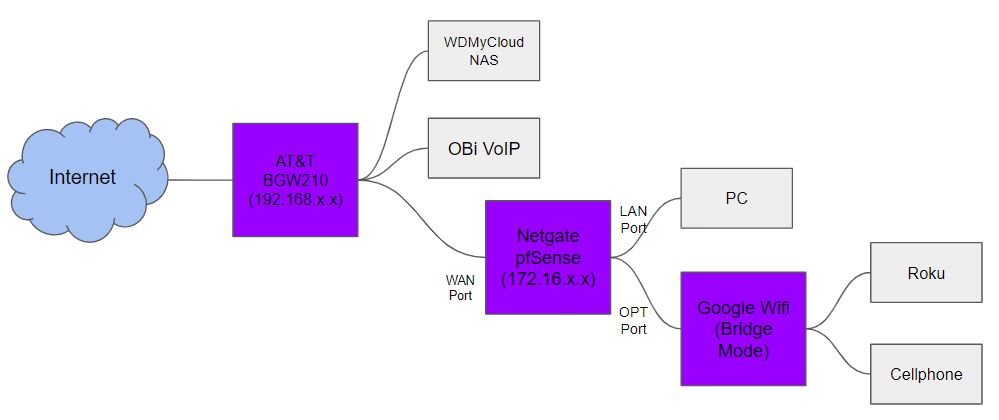
I connect to the internet through an AT&T BGW210. Behind that sits an SG-1100 Netgate (pfSense). Behind that is my PC (plugged into Netgate LAN port) and my Google Wifi (plugged into Netgate OPT port). Netgate WAN plugs into BGW210.

Google Wifi is set to Bridge mode, meaning it will not assign IPs but will let Netgate do that.

With my PC connected directly to AT&T BGW210:
To set up AT&T: http://192.168.1.254

I set Wi-Fi (2.4 and 5 GHz) off, because I will be going through Google Wifi instead.

Once that is done, I plug the PC into the Netgate LAN port (and unplug Netgate WAN) and from a Command Prompt, type ipconfig/renew to get my new Netgate IP.

I set the IP to 172.16.1.1/24 (using Netgate setup wizard by first connecting to https://192.168.1.1) and then plug the WAN into AT&T.

Out of the box, Netgate LAN port is set up but the OPT port is turned off. Let’s turn it on.

To set up Netgate: https://172.16.1.1
To turn on the Netgate OPT port:

Interfaces > OPT
Enable: Checked
IPv4 Config Type: Static IPv4
IPv4 Address: 172.16.2.1/24

Services > DHCP Server > OPT
Enable: Checked
Range: 172.16.2.10 to 172.16.2.245

Firewall > Rules > OPT > Add
Action: Pass
Protocol: Any
Source: OPT net
Description: Default allow OPT to any rule

Now install ad block software:

System > Package Manger > Available Packages > pfBlockerNG
Install pfBlockerNG-devel

Firewall > pfBlockerNG
Make sure to select LAN and OPT for Outbound Firewall Interface

Firewall > pfBlockerNG > General
CRON Settings: Once a day

Firewall > pfBlockerNG > DNSBL > DNSBL Category (Optional)
Blacklist Category: Enable
Blacklists: Select Shallalist
Shallalist: Check Advertisements

Firewall > pfBlockerNG > Update > Run
It should download the new Shallalist.

Hopefully everything works. If you cannot talk to your Netgate, try directly connecting to it through USB. I used PuTTY to COM3 Speed 115200.

Addendum: I have a NAS connected to the BGW210. In order to see that from behind the Netgate, I added:

DNS Resolver > Host Override Options
Host: WDMyCloud
Domain: localdomain
IP Address: 192.168.1.65

On the BGW210 I went to Home Network > IP Allocation, and added 192.168.1.65 as a Fixed Allocation so the device would always be at that IP. Now I can use File Explorer to \\WDMyCloud.

Playing Squad as Squad Lead

I have recently been playing a lot of Squad. I really enjoy the Squad Leader role of the game. The role can really carry the map – a good SLs can lead a team to victory. I also like that Squad is very voice comms heavy. I find that I stutter a lot and forget words when trying to talk to other people in “quick” situations and the game gives me a chance to get better at speaking and making decisions. Or even having to change plans as the battlefield changes!

There are four objectives I try to reach when playing as SL (listed in order of importance):

  • Reduce Walking – only the Squad Lead can place Rally Points and HABs, so make sure you are close to the battle. Don’t get too close (so hard to gauge this!), don’t be too far away. Make it so your guys can get in there and do what they need to do. You need to enable them.
  • Give Direction – “We’re going to defend this point for a while.” “Let’s move on this flag together.” “Let’s search for their HAB over here.”
  • Be Aware of the Big Picture – I try to watch how the map overall is going and let others know. “They just blew past us, we need to fall back to the last point.” “The next point is captured and safe, so let’s leave this point and move up.” “The enemy keeps coming from this direction so let’s push out and take out their HAB or Rally.”
  • Encouragement – “Hey that was a great shot.” “Thanks for building.” “Thanks for the supplies!” Actively marking the map when teammates report enemy. “Hey you did a good job dying over there, that distraction bought us enough time to sneak around here.”

These are some things I try not to do:

  • Tell people what role to play or demand someone pick medic.
  • Tell people to do a logi run. (I hate logi runs, so why should I make you?)
  • Take another squad’s supplies or logi without asking. This includes using their supplies to build a Hesco wall/repair station.
  • Put up so many defenses around the base that people can’t get out.

Here are some recordings I made so I could re-watch and see what I was doing wrong. I’ve noticed sometimes I miss important comms or I get too hyper.

P.S. The best way to avoid being shot that I know of is to: be where the enemy doesn’t expect you to be! E.g. flank!
P.P.S. I like to place people into fireteams at the start because then I can see at the end of the map how many people stayed through the entire thing. It also means if a FTL leaves, then another person becomes FTL without me having to think about it. I like to place people who are looking out for the enemy as FTL. Usually engineers, snipers, and LAT.

About Recording

I’m using a great, free program called OBS Studio. I’ve been messing with the settings and this is what I’m using for now:

Video Bitrate: 15000 Kbps (Based on YouTube Recommended Settings)
Recording Quality: Indistinguishable Quality, Large File Size
Recording Format: mp4
Base Resolution: 1920x1080
Output Resolution: 1280x720
Downscale Filter: Lanczos (Sharpened scaling, 32 samples)
FPS: 60

Sound was really difficult to get just right.

Enable Push-to-talk (Hotkeys: V, B, G)
Desktop Audio: -8.3 dB
Mic/Aux: 12.1 dB
Squad Effects Volume: 58% Music Volume: 58%

Split Terrain with Height Interpolation

I was able to fix the blocky steps in the new heightmap from the SplitTerrain code by using the interpolated values in the original terrain instead of the integer values stored in the heightmap. It only took a year to figure this out. 😀

// Height
td.heightmapResolution = heightmapResolution;
float[,] newHeights = new float[heightmapResolution, heightmapResolution];
dimRatio1 = (xMax - xMin) / (heightmapResolution - 1);
dimRatio2 = (zMax - zMin) / (heightmapResolution - 1);
for (int i = 0; i < heightmapResolution; i++)
{
    for (int j = 0; j < heightmapResolution; j++)
    {
        // Divide by size.y because height is stored as percentage
        // Note this is [j, i] and not [i, j] (Why?!)
        newHeights[j, i] = origTerrain.SampleHeight(new Vector3(xMin + (i * dimRatio1), 0, zMin + (j * dimRatio2))) / origTerrain.terrainData.size.y;
    }
}
td.SetHeightsDelayLOD(0, 0, newHeights);

New code is at GitHub.

Rudimentary Stitch Unity Terrain

I’ve added a rudimentary terrain stitch function to the project in the Split Terrain post. It will take the top neighbor and match their bottom edge to our top edge, and it will take our left neighbor and match their right edge to our left one.
void stitchTerrain(GameObject center, GameObject left, GameObject top)
{
    if (center == null)
        return;
    Terrain centerTerrain = center.GetComponent<Terrain>();
    float[,] centerHeights = centerTerrain.terrainData.GetHeights(0, 0, centerTerrain.terrainData.heightmapWidth, centerTerrain.terrainData.heightmapHeight);
    if (top != null)
    {
        Terrain topTerrain = top.GetComponent<Terrain>();
        float[,] topHeights = topTerrain.terrainData.GetHeights(0, 0, topTerrain.terrainData.heightmapWidth, topTerrain.terrainData.heightmapHeight);
        if (topHeights.GetLength(0) != centerHeights.GetLength(0))
        {
            Debug.Log("Terrain sizes must be equal");
            return;
        }
        for (int i = 0; i < centerHeights.GetLength(1); i++)
        {
            centerHeights[centerHeights.GetLength(0) - 1, i] = topHeights[0, i];
        }
    }
    if (left != null)
    {
        Terrain leftTerrain = left.GetComponent<Terrain>();
        float[,] leftHeights = leftTerrain.terrainData.GetHeights(0, 0, leftTerrain.terrainData.heightmapWidth, leftTerrain.terrainData.heightmapHeight);
        if (leftHeights.GetLength(0) != centerHeights.GetLength(0))
        {
            Debug.Log("Terrain sizes must be equal");
            return;
        }
        for (int i = 0; i < centerHeights.GetLength(0); i++)
        {
            centerHeights[i, 0] = leftHeights[i, leftHeights.GetLength(1) - 1];
        }
    }
    centerTerrain.terrainData.SetHeights(0, 0, centerHeights);
}

We run this function on each of our terrain pieces after breaking apart our original terrain.
Split Unity Terrain Script

In writing this script I learned about EditorWindows: using a script to create something outside of the game running. This code will let us launch our script from the newly made menu Split -> Split Terrain. (Code must be placed in Editor directory)

using UnityEngine;
using UnityEditor;

public class SplitTerrain : EditorWindow
{
    [MenuItem("Split/Split Terrain")]
    static void Init()
    {
        GetWindow<SplitTerrain>();
    }

    public void OnGUI()
    {
        // Have our code here
    }
}

When creating the Terrain Manager code, I had wished at the time I knew of a script that would take a large terrain and break it up into smaller parts. So that lead to this post. What follows is a script that takes any size terrain, allows you to enter how many pieces you want it broken into, and what you want the new heightmap, detailmap, and splatmap resolutions to be. To explain that last part, first understand what TerrainData is made of. We have the heightmap which describes the mountains and valleys. The splatmap (or alphamap) that describes what is drawn on the terrain. The detailmap describes where grass is on the terrain, and then there’s an array of tree locations. To break terrain down, we’ll need to take each of these and trim them down.

Now let’s talk about sizes. A terrain’s physical size could be length 200 by width 100. The heightmap is stored in a different array of say size 513. This means that even though the terrain length is twice the size of the width, the heightmap length is 513 and the heightmap width is 513. If we cut the terrain in half lengthwise, we would be at 100 by 100, however the heightmap returned by GetHeights would be 257 by 513 now. We need to either up convert that back to 513 by 513 or go down to 257 by 257, for example. Either way we need to make up data values or lose data points. What the following code does is resize our array to any size the user specifies. heightmapResolution is the new height we are aiming for.

// Get percent of original
float xMinNorm = xMin / origTerrain.terrainData.size.x;
float xMaxNorm = xMax / origTerrain.terrainData.size.x;
float zMinNorm = zMin / origTerrain.terrainData.size.z;
float zMaxNorm = zMax / origTerrain.terrainData.size.z;
float dimRatio1, dimRatio2;

// Height
td.heightmapResolution = heightmapResolution;
float[,] heights = origTerrain.terrainData.GetHeights(
              Mathf.FloorToInt(xMinNorm * origTerrain.terrainData.heightmapWidth),
              Mathf.FloorToInt(zMinNorm * origTerrain.terrainData.heightmapHeight),
              Mathf.FloorToInt((xMaxNorm - xMinNorm) * origTerrain.terrainData.heightmapWidth),
              Mathf.FloorToInt((zMaxNorm - zMinNorm) * origTerrain.terrainData.heightmapHeight));
float[,] newHeights = new float[heightmapResolution, heightmapResolution];
dimRatio1 = (float)heights.GetLength(0) / heightmapResolution;
dimRatio2 = (float)heights.GetLength(1) / heightmapResolution;
for (int i = 0; i < newHeights.GetLength(0); i++)
{
    for (int j = 0; j < newHeights.GetLength(1); j++)
    {
        newHeights[i, j] = heights[Mathf.FloorToInt(i * dimRatio1), Mathf.FloorToInt(j * dimRatio2)];
    }
}
td.SetHeights(0, 0, newHeights);

Here is the result if we upconvert back to 513. This isn’t good. Room for improvment would take and interpolate values. [Update: this has since been fixed]

The trees are stored in an array the size of however many trees you have. Ten trees, size ten. Three thousand trees, size three thousand. The position is stored as a percentage of the size. If we had terrain of size 200 by 100 and one tree was dead center, it’s coord would be stored as 0.5, 0.5. If it was at the edge and to the right some, it would be 0.75, 1. Here is the code that will copy over just the trees in our new piece.

// Tree
for (int i = 0; i < origTerrain.terrainData.treeInstanceCount; i++)
{
    TreeInstance ti = origTerrain.terrainData.treeInstances[i];
    if (ti.position.x < xMinNorm || ti.position.x >= xMaxNorm)
        continue;
    if (ti.position.z < zMinNorm || ti.position.z >= zMaxNorm)
        continue;
    ti.position = new Vector3(((ti.position.x * origTerrain.terrainData.size.x) - xMin) / (xMax - xMin), ti.position.y, ((ti.position.z * origTerrain.terrainData.size.z) - zMin) / (zMax - zMin));
    newTerrain.AddTreeInstance(ti);
}

To explain getting the new position code, if our tree was originally at 0.8 and we were cutting our terrain from 200 to 100 (and keeping the later half), we do 0.8 * 200 which is 160, then subtract the removed part of 100, then divide by 200 minus 100. The new position is 0.6.

You also need to create an asset and save it. Like this.

if (!AssetDatabase.IsValidFolder("Assets/Resources"))
    AssetDatabase.CreateFolder("Assets", "Resources");
// Must do this before Splat
AssetDatabase.CreateAsset(td, "Assets/Resources/" + newName + ".asset");

// Make our terrain

AssetDatabase.SaveAssets();

I save to Resources so I can load it using Resources.LoadAsync in the Terrain Manager code.

If you know of a way to improve this, please let me know. Note the GitHub code is actually at a state where I’ve split some terrain already and you can hit Play and walk around. Here is the link for SplitTerrain.cs.

This code was based on code by Kostiantyn Dvornik. Much thanks to him for sharing!

Simple Multiplayer Terrain Manager for Unity

Here is some code I wrote to load terrain only where the player is. We don’t load the entire map, just the current and neighboring areas.

We will store the terrain data in a dictionary that uses an X and Z coordinate system as a key (Unity uses Z for east-west).

0, 0 0, 1 0, 2
1, 0 1, 1 1, 2
2, 0 2, 1 2, 2

Pictured is the final result with one player at 0, 0 and another at 2, 4. Note this view is from the server where all terrain in use by clients must be loaded. Clients will only load what is needed for their view.

Since we are storing terrain in a dictionary, our TerrainKey will be important to understand. Here is how we assign a TerrainKey:

const int xMax = 3; // How many tiles our north-south is
const int zMax = 6; // How many tiles east-west is
const float terrainSize = 500.0f; // Size of each terrain tile

// Unity uses z instead of y for east-west
public TerrainKey(int x, int z)
{
    this.x = x;
    this.z = z;
}

// Get key from position
public TerrainKey(Vector3 pos)
{
    x = Mathf.FloorToInt(pos.x / terrainSize);
    z = Mathf.FloorToInt(pos.z / terrainSize);
}

// Might be outside range
public bool isValid()
{
    if (x < 0 || x >= xMax)
        return false;
    if (z < 0 || z >= zMax)
        return false;
    return true;
}

public override string ToString()
{
    // Also used when loading the terrain resource
    return string.Format("Terrain{0}_{1}", x, z);
}

Every second we will have our players report their position. We will also want to calculate the neighboring terrain. Note we are marking each grid spot when it is needed by saving a time value. The TerrainManager uses this to know what terrain to load or remove.

// Called by player objects
public static void reportLocation(Vector3 pos)
{
    if (instance == null)
        return;
    TerrainKey key = new TerrainKey(pos);
    if (!key.isValid())
    {
        Debug.Log("Player outside terrain area");
        return;
    }

    // Mark neighbors as being needed
    TerrainKey[] neighbors = key.getNeighbors();
    for (int i = 0; i < neighbors.Length; i++)
    {
        key = neighbors[i];
        instance.terrainDictionary[key].lastNeeded = Time.timeSinceLevelLoad + 1.0f;
    }
}

Here is the function the TerrainManager is calling every second to check if it needs to load or remove terrain. Note we load the terrain resource asynchronously.

// As terrain is flagged as needed or not needed this routine will load or destroy terrain
IEnumerator manageDictionary()
{
    while (true)
    {
        foreach (var pair in terrainDictionary)
        {
            if (pair.Value.lastNeeded <= Time.timeSinceLevelLoad)
            {
                if (pair.Value.gameObject == null)
                    continue;

                // Don't need terrain so remove
                Destroy(pair.Value.gameObject);
            }
            else
            {
                if (pair.Value.gameObject != null)
                    continue;

                // Need terrain so load
                if (!pair.Value.isLoading)
                {
                    pair.Value.isLoading = true;
                    StartCoroutine(loadTerrain(pair));
                }
            }
        }

        // Check every second
        yield return new WaitForSeconds(1.0f);
    }
}

// Loads terrain from resource and sets to correct position
IEnumerator loadTerrain(KeyValuePair<TerrainKey, TerrainValue> pair)
{
    ResourceRequest request = Resources.LoadAsync(pair.Key.ToString());
    yield return null; // Starts again when LoadAsync is done

    TerrainData t = request.asset as TerrainData;
    pair.Value.gameObject = Terrain.CreateTerrainGameObject(t);
    pair.Value.gameObject.transform.position = pair.Key.getPos();
    pair.Value.isLoading = false;
}

When I have time I’d like to use Terrain.SetNeighbors though I don’t know how to measure performance yet.

If you know of a way to improve this, please let me know. Sample code at GitHub. Here is the link for TerrainManager.cs.

Thanks to PandawanFr at Reddit for convincing me to not make things so complicated. Unity’s streaming world demo is here.